Today my fellow Childhood 101 contributors and I are playing a game of online tag. It’s been fun for us to put this game together and we hope it’ll introduce you to some new bloggers with great ideas for your kids and family.
Without further ado, I’d like to give a warm welcome to Christie of Childhood 101. She’s sharing a fun outdoor art activity that’s perfect for warm summer evenings. For those who haven’t met Christie before, she’s an Aussie mother of two and the early childhood teacher behind the award winning parenting blog, Childhood101.com.
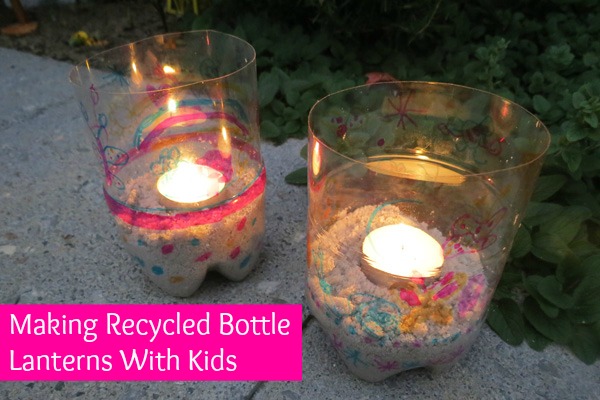
As well as providing a great opportunity to reinforce the message that recycling and reusing are important for the environment, this outdoor art activity is simple and low mess – making it perfect for children of all ages (and for mum!). Plus, the end result is just a little magical. In fact, my daughter has asked for us to eat dinner by the candlelight of her lanterns each night since we made them.

To make your own recycled bottle lantern, you will need:
- One clean soft drink bottle with the label removed. A 1 liter bottle works well with one candle, a 2 liter bottle provides room for two candles
- Coloured permanent marker pens (Sharpies or similar – the darker and brighter colours will be more effective than light colours)
- A utility knife and a pair of scissors
- Sand
- Tea light candles
To make your lantern:
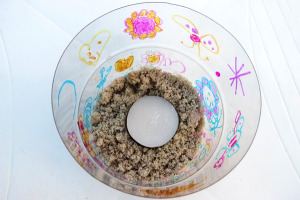
1. Invite your child to decorate the bottom half of the bottle with the marker pens. Shapes, patterns and simple motifs work best. Being that we were creating outdoors, my daughter was inspired by her surroundings, featuring flowers, trees, the sun, moon, stars, butterflies, snails and other insects, and rainbows.
2. Cut the top half off the bottle by making a small slit with the utility knife and then sliding the bottom blade of the scissors into the hole. Cut all the way around the bottle (depending upon the age of the child, this step may be best performed by an adult). If you find the exposed, plastic edge is sharp (ours was not), fold a length of coloured washi or electrical tape along the edge.
3. Place some sand in the bottom of the bottle. This weighs the bottle down, providing some stability. Then push your tea light candle into the sand in the middle of the bottle.

Enjoy, indoors or out!
Thank you so much for sharing with us today, Christie! If you like what you read, connect with Christie on her blog, Facebook, Twitter or Pinterest.
Now it’s time to head over to Tricia at Little Eco Footprints where I’m sharing 3 tips for getting outdoors when it’s cold (because winter is coming for my friends in the Southern hemisphere). From there, you can continue reading a post by each Childhood 101 contributor who’s playing along. Each post in the game will lead you to another until you’ve visited all of the blogs, leading you back here again. Have fun!


So glad to hear it, Joy! 🙂
I love mason jars! BTW: I'm super impressed you don't have any stray plastic bottles. Wow!
Fun idea! We don't have plastic bottles, but have done something similar with mason jars.
Debi, thanks–I played tag and found some great new parenting blogs! Fun!
My kids would love to make these.
What a gorgeous idea! I'll definitely be trying this one.
I LOVE this idea. Will definitely be making some of these. We've been making tea lights in orange peel – so I'm going to try it with these.
That's a great idea, Christy. The kids I work with in our school garden would love to try this, too.
Aren't they magical? Can't wait to try them with my boys.
Oooh these are so pretty… my kids will love doing this!
Great idea! I have a bunch of these left over from growing lettuce with my class and this would be a fun activity to do with them at the end of the year!