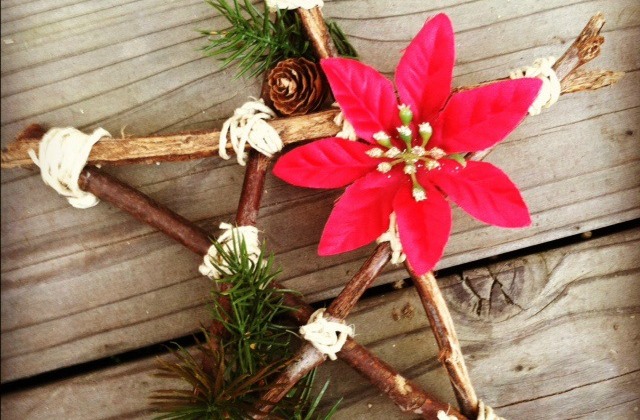
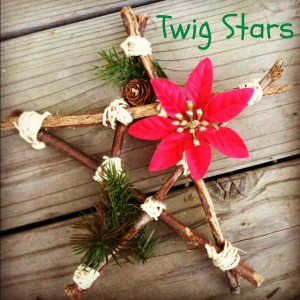
Nature fun idea No. 6 on our Countdown to Christmas list was to create twig stars. The task began by collecting sticks at a Christmas tree lot we visited with The Little Explorer’s preschool. Unlike most sticks in our neighborhood, these were fresh cut and smelled amazing!
Here are the supplies we used to create our twig stars:
- Sticks – you’ll need 5 sticks of roughly equal length for each star
- Other bits of nature for added decoration (optional)
- Twine
- Scissors
- Glue gun (optional)
And here’s how to make twig stars:
- Gather up some sticks.
- Choose 5 sticks & lay out the design of your star.
- Using a glue gun, secure the shape of your star. Simply dab some glue to the ends where the sticks meet. (Note: We skipped this step since our glue gun failed.)
- Wrap twine around the sticks at the ends & intersections to keep the sticks in place. (If you prefer to have a cleaner look, use glue instead.)
- Add bits of nature as desired. Adhere with glue as needed. (Note: We were able to successfully wedge our items into place without glue.)
If you use a glue gun to make your twig stars, the process will go pretty fast. Without one, it took us a little longer – which was a good thing. It gave us a chance to slow down and connect.
We talked about which sticks to use and what other shapes we might want to make. Then The Big Explorer held the sticks in place while I secured them with twine. Once our twig stars were ready, we added bits of holiday nature décor. It was truly a team effort.
A few tips for fun and success making twig stars with kids:
- Enjoy the collecting – it’s fun trying to find just the right sticks!
- Leave the actual forming of the twig star (whether by glue or twine) to an adult – unless you have older kids. Younger kids will enjoy adding other items to the twig star once it’s formed.
- Add paint or glitter as desired for some extra pizzazz.
I am happy to report that the very first item to be placed on our Christmas tree this year was our twig star.


I think these would be fun to do for the 4th of July. And they'd be nice to have in the garden dressed up in bright colors of yarn all year.
Hmmm…I meant to do this, but didn't get around to it. I suppose it's not strictly a Christmas thing. Those stars would look good all season long.
Thank you. Simple is our motto! Happy holidays snowbird! 🙂
Awww, these are lovely. So simple too.xxxx
Wow – thanks so much Joy! What an honor. I'm off to go check out your post. Happy nature crafting!
Hi Debi! Just wanted to let you know that I linked to your cute twig star idea, but more importantly, to your delightful blog in general, in this year-end wrap-up post. Cheers, Joy
Thank you, Hannah! Our Countdown to Christmas has really helped these first days of December feel less hectic. Glad to hear you're getting outside a lot, too! Happy holidays!
Hi, I'm really enjoying your alternative Christmas posts, everyone else seems to be inside this time of year! We try and get outside for play lots so I'm enjoying all your ideas, really want to decorate an outside tree! This (and lots of other posts) would be perfect for the Outdoor Play Party http://makingboysmen.blogspot.co.uk/2012/12/nature-colour-hunt-outdoor-play-party.html
Thank you, Penny. The more time you spend outside, the more naturally the nature stuff seems to come. :-0
Hi Barb! Hope you guys are able to try this one, too. If not now, maybe come spring or summer. These would be great for Fourth of July.
Debi, these are just beautiful. I'm trying to include more nature in my play with the girls and this will be perfect! <br />
I love it. What a great idea. And the tree farm as twig supplier is fantastic since I wasn't sure where we would start now that most of the landscape around us is covered in snow. Thanks for a great looking project! Bookmarking this one!